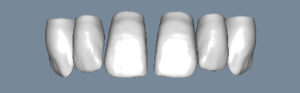
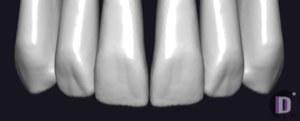
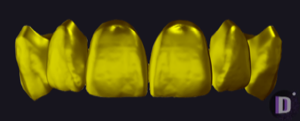
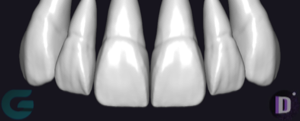
Custom anatomy library for exocad: how to build from scans
The catalog of anatomy libraries for exocad holds 444 morphology sets, but no ready-made preset will reproduce the signature anatomy of your lab. If you want to design crowns and bridges based on your own references, it makes sense to build a custom anatomy library (custom tooth library) for exocad from scanned teeth.
Let's walk through the whole process step by step: from preparing STL meshes and correct orientation to FDI naming and placing the finished set in DentalCAD. Technically this is within reach of any exocad user — no special module is needed, you work with ordinary polygon meshes.
Why create your own anatomy library in exocad
Ready-made sets like DTLab.6 or Pogarskiy Design 4.1 work well as a universal base, but every lab has its own signature: cusp height, fissure definition, the character of the incisal edge. A custom library covers exactly these needs.
- a repeatable signature anatomy style across a flow of crowns and bridges;
- morphologies tailored to a specific clinic or to a technician's preferences;
- digitizing successful hand wax-ups and milled work;
- a faster design start — less manual correction after automatic placement.
A separate value are libraries with a root portion, such as rooted. If your scans include root anatomy, you get a realistic eruption profile and a correct emergence profile in implant cases.
What you need for a custom tooth library: scans and mesh prep
The source of the shapes is STL meshes of individual teeth. They can be obtained three ways: by scanning a physical wax-up or a milled crown on a lab scanner, by exporting previously designed anatomy from exocad, or by segmenting teeth from a scan of a diagnostic model.
Each mesh has basic quality requirements. The mesh must be closed (watertight), free of self-intersections, holes and detached polygons, otherwise exocad won't be able to use the shape correctly as a reference.
- a closed, manifold surface without holes or artifacts;
- a reasonable polygon density — detail without excess file weight;
- removal of scanning supports and model remnants;
- a single scale in millimeters across all teeth in the set.
Mesh orientation and FDI naming
The key and most common source of error is orientation. All teeth in the set must be set up in a single coordinate system: the occlusal plane and axial direction identical for every position. If orientation drifts, exocad will place the anatomy at the wrong angle, and manual editing will only grow.
The second point is naming. Each mesh is tied to a tooth position by FDI numbering so the software knows which shape to drop in on 11, 26 or 46. Follow a single file-naming convention for the whole set and keep separate meshes for the upper and lower jaw.
How to build your own anatomy library and add it to exocad
The finished meshes are combined into an anatomy library structure and placed in the exocad DentalCAD library folder alongside the stock sets. After that the library appears in the anatomy selection list in the crown design dialog.
The workflow comes down to a few steps:
- prepare and check the STL of each tooth (closure, orientation, scale);
- bring the mesh naming into line with FDI positions across the whole set;
- gather the files into a separate anatomy library folder;
- place the folder in the exocad library directory and restart the application;
- select your set in the design dialog and test placement on a real case.
After connecting it, be sure to run a test project: place a crown from your set on different positions and assess how well the shape sits without edits. That way you catch orientation or scale problems before the library goes into production.
Ready-made anatomy libraries as a starting point
Building a set from scratch isn't always rational. It's easier to take a neutral base and adapt it to your style. That's exactly what the custom library is made for — a flexible set of shapes on top of which it's convenient to build your own anatomy.
If you need reference morphology from practicing technicians, look at the author sets Lorant Stumpf 08 and Grin Design 6. You can use them as a style benchmark and add your own scans selectively — on the positions where a signature shape is needed.
All the anatomy sets listed are available in the DentalLibs catalog — a handy starting point while you fine-tune your own library. Combining a ready-made base with digitized wax-ups usually delivers results faster than a fully self-made set.
Common questions about creating an anatomy library for exocad
Can you create your own anatomy library in exocad?
Yes. No separate module is needed: you prepare STL tooth meshes, bring orientation and naming into line with FDI, assemble them into a library structure and place it in the DentalCAD library folder.
What format should the teeth be in?
Individual STL meshes for each position: closed, without holes or self-intersections, in a single scale in millimeters and with a single orientation to the occlusal plane.
Where do you get tooth scans from?
From a scan of a physical wax-up or milled crown, from an export of anatomy previously designed in exocad, or by segmenting teeth from a scan of a diagnostic model.
Is it easier to build a set from scratch or refine a ready-made one?
It's usually faster to take a neutral base like custom or an author set and swap positions with your own scans selectively than to build a full library yourself.